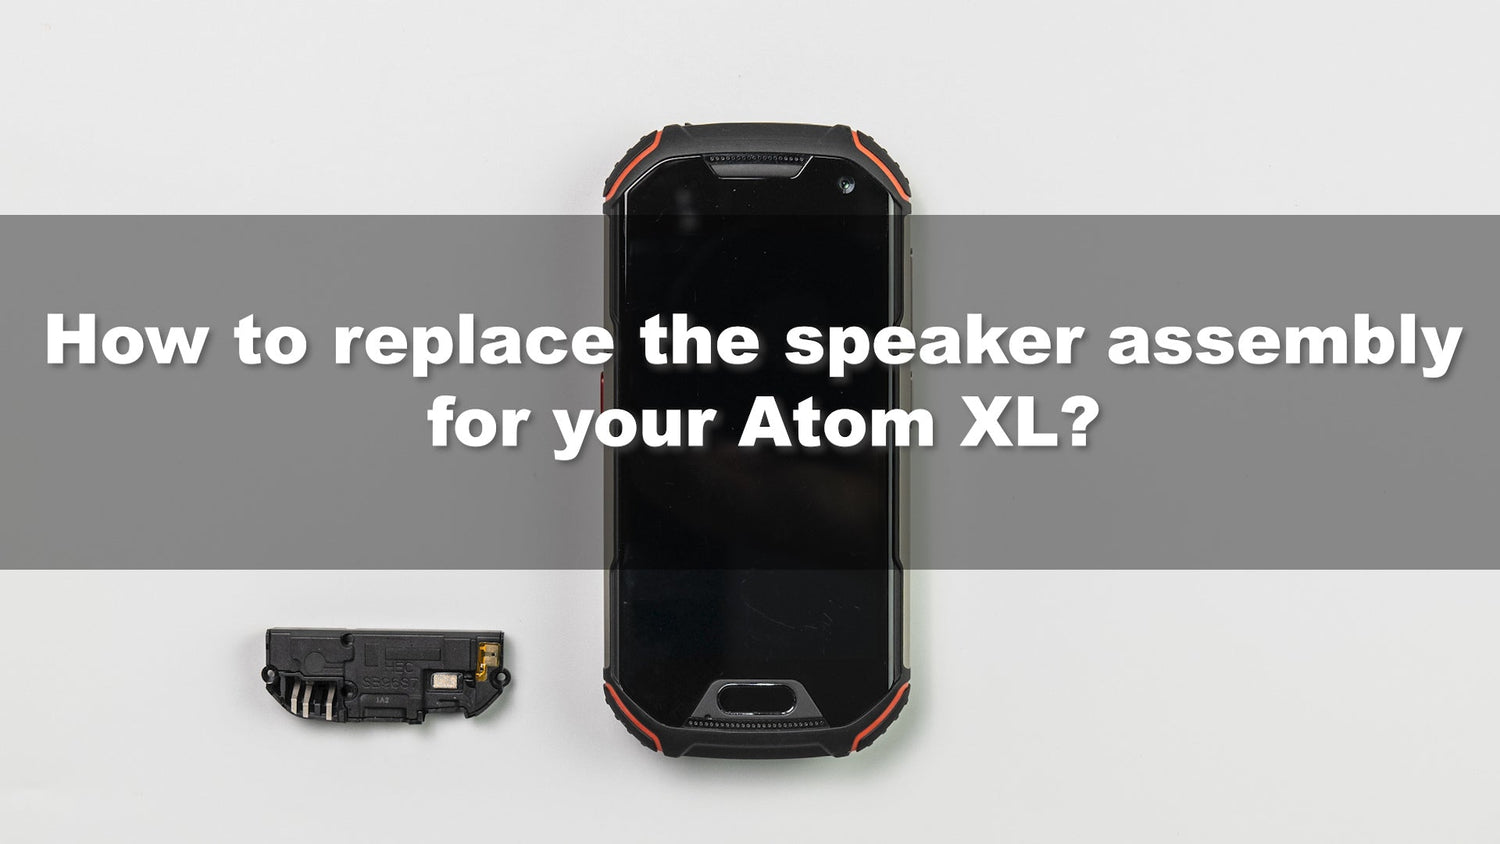

This tutorial will go through the process of replacing the speaker assembly of Unihertz Atom L/XL smartphone.
It is important that you read the entire guide and make sure you can complete all the steps before you start to replace the speaker assembly of your Unihertz Atom L/XL smartphone. Otherwise, finding a local trained repair specialist to conduct the repair is recommended.
How to Replace the Speaker Assembly for Unihertz Atom L/XL
How to Replace the Speaker Assembly for Unihertz Atom L/XL Step by Step
 |
Step 1Remove the 6 screws from the side edge bezel, remove the side edge bezel and take out the SIM card tray gently. |
 |
Step 2Remove the ten screws from the rear panel. |
 |
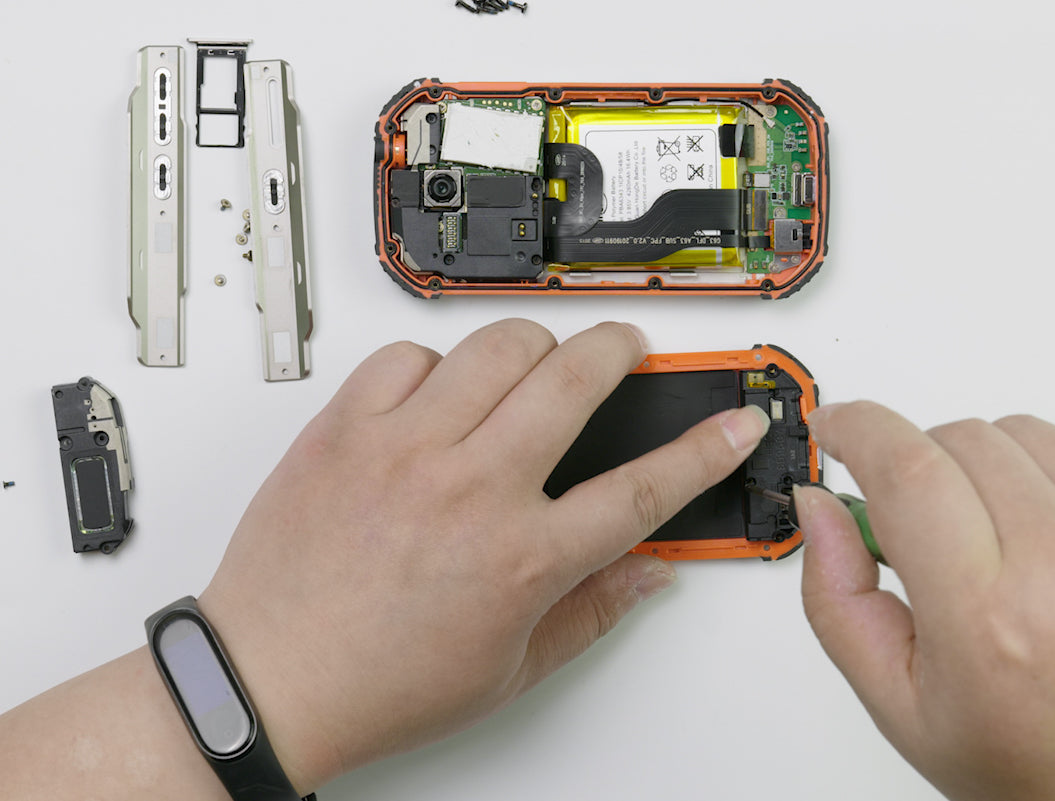
Step 3Remove the rear panel assembly. |
 |
Step 4Remove the four screws on the speaker assembly (the speaker assembly is located on the rear panel assembly). |
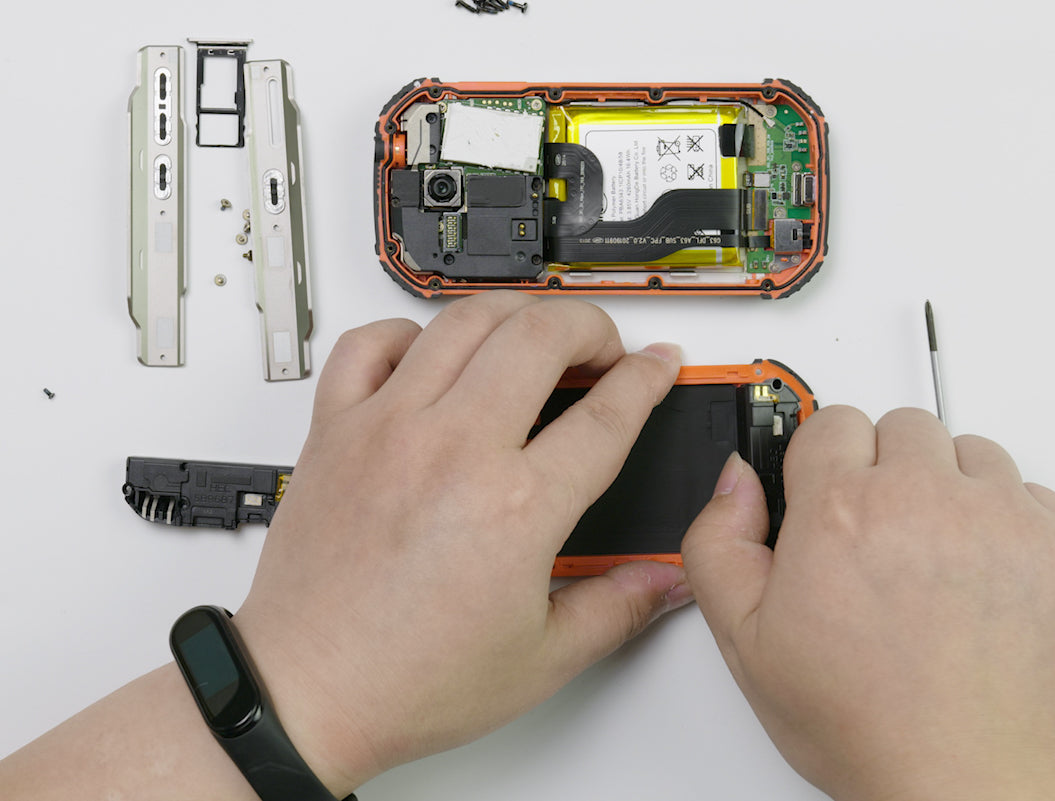 |
Step 5Remove the speaker assembly. |
 |
Step 6Replace the replacement speaker assembly. |
 |
Step 7Tighten the four screws on the speaker assembly. |
 |
Step 8Install the rear panel assembly. |
 |
Step 9Tighten the ten screws on the rear panel assembly. |
 |
Step 10Install the SIM card tray, install the side edge bezel and tighten the six screws. |