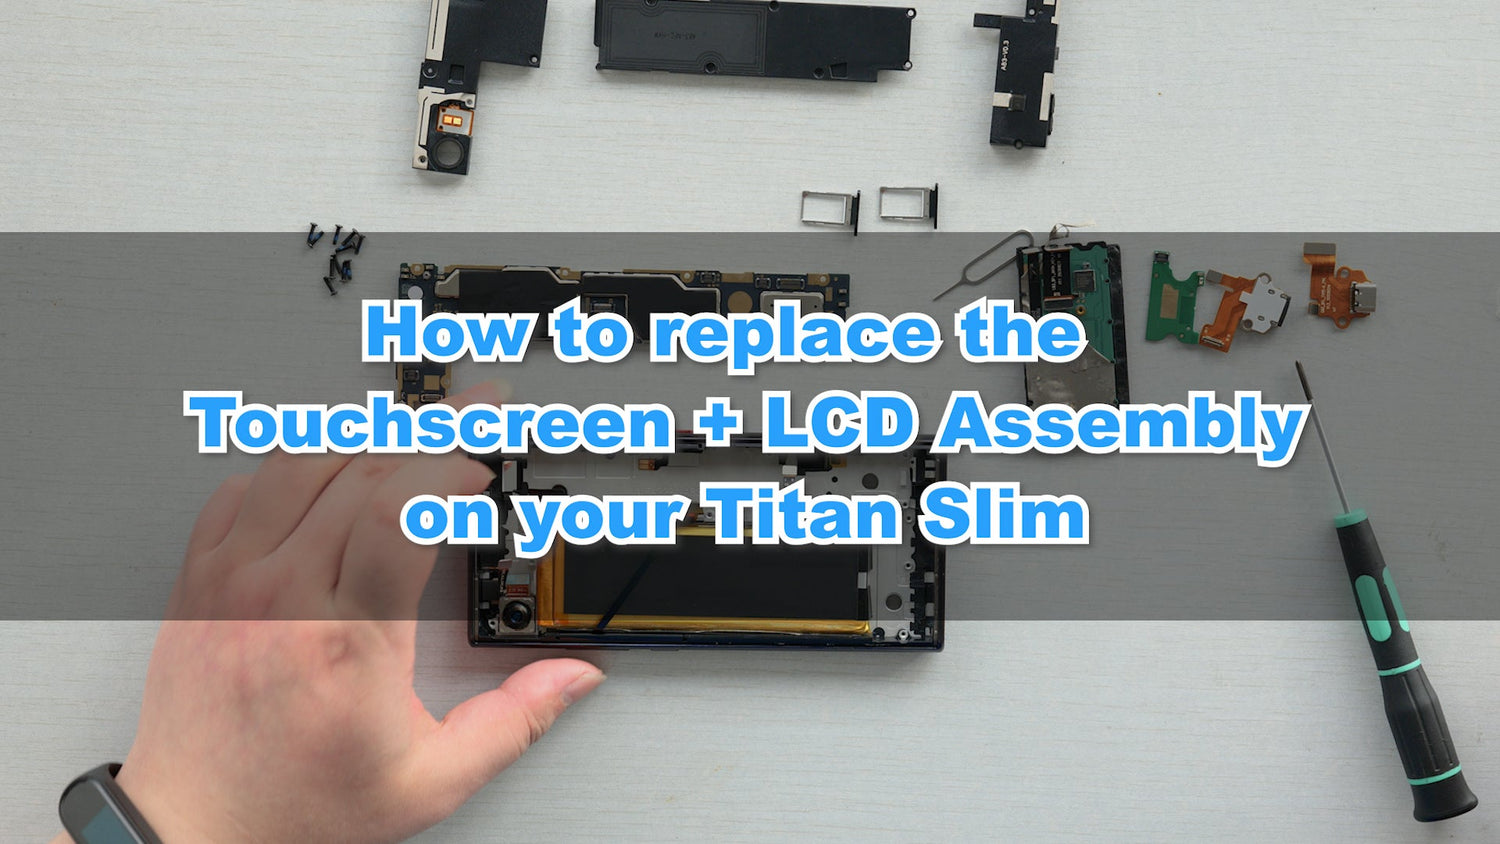
In questo tutorial verrà illustrato il processo di sostituzione del touchscreen e del gruppo LCD dello smartphone Unihertz Titan Slim .
È importante leggere l'intera guida e assicurarsi di poter completare tutti i passaggi prima di iniziare a sostituire il touchscreen e il gruppo LCD del tuo smartphone Unihertz Titan Slim . In caso contrario, si consiglia di trovare uno specialista di riparazioni qualificato locale per eseguire la riparazione.
Come sostituire il touchscreen e il gruppo LCD per Unihertz Titan Slim
Come sostituire il touchscreen e il gruppo LCD per Unihertz Titan Slim passo dopo passo
 |
Passo 1Metti il guscio posteriore del telefono cellulare sulla piattaforma riscaldante per riscaldarlo Puoi anche usare una pistola termica per riscaldare lungo il bordo del guscio posteriore |
 |
Passo 2Attendi finché il nastro biadesivo sulla cover posteriore non si ammorbidisce, utilizza uno strumento a ventosa e un piede di porco per staccare la cover posteriore (fai attenzione a non danneggiare il vetro sulla cover posteriore) |
 |
Passaggio 3Rimuovere il guscio posteriore. Pulire il nastro biadesivo residuo |
 |
Passaggio 4Rimuovere 11 viti |
 |
Passaggio 5Rimuovere la staffa dell'antenna WIFI/BT, la staffa dell'antenna NFC e la staffa dell'antenna principale |
 |
Passaggio 6Fare leva per aprire l'interfaccia del cavo sulla scheda dell'antenna Rimuovere la scheda dell'antenna |
 |
Passaggio 7Fai leva per aprire l'interfaccia del cavo su type-c_FPC Rimuovi type-c_FPC |
 |
Passaggio 8Fai leva per aprire i 9 connettori dei cavi sulla scheda madre |
 |
Passaggio 9Rimuovere i due vassoi per la scheda SIM |
 |
Passaggio 10Rimuovi la scheda madre |
 |
Passaggio 11Rimuovere le viti di fissaggio della tastiera |
 |
Passaggio 12Aprire la tastiera dallo spazio (nota: la tastiera e il pannello frontale sono collegati tramite nastro biadesivo) |
 |
Passaggio 13Rimuovi la fotocamera posteriore, il sensore di distanza e l'auricolare |
 |
Passaggio 14Rimuovere il pulsante laterale_FPC |
 |
Passaggio 15Strappare la colla facile da rimuovere della batteria |
 |
Passaggio 16Rimuovere la batteria e il pulsante laterale_FPC |
 |
Passaggio 17Rimuovere l'anello di tenuta del microfono e l'asta di espulsione del supporto della carta SIM |
 |
Passaggio 18Estrarre il nuovo touchscreen + assemblaggio LCD. Incollare la colla facile da tirare sulla batteria |
 |
Passaggio 19Installa il tasto laterale_FPC |
 |
Passaggio 20Installa e ripara la batteria |
 |
Passaggio 21Passare il cavo attraverso la fessura nel pannello anteriore e installare la tastiera |
 |
Passaggio 22Installare le viti di fissaggio della tastiera |
 |
Passaggio 23Installare l'anello di gomma di fissaggio del microfono |
 |
Passaggio 24Installare la cornetta (notare che i due contatti della cornetta sono abbassati) |
 |
Passaggio 25Installare il sensore di distanza e l'espulsore del supporto della carta SIM |
 |
Passaggio 26Installa tipo-c_FPC |
 |
Passaggio 27Installare la scheda dell'antenna Collegare l'interfaccia del cavo sulla scheda dell'antenna |
 |
Passaggio 28Dopo aver installato la fotocamera e la scheda principale |
 |
Passaggio 29Collega le 10 porte dei cavi sulla scheda madre |
 |
Passaggio 30Installare la staffa dell'antenna principale, la staffa dell'antenna NFC, la staffa dell'antenna WIFI/BT |
 |
Passaggio 31Installa 11 viti |
 |
Passaggio 32Installa il coperchio posteriore |


