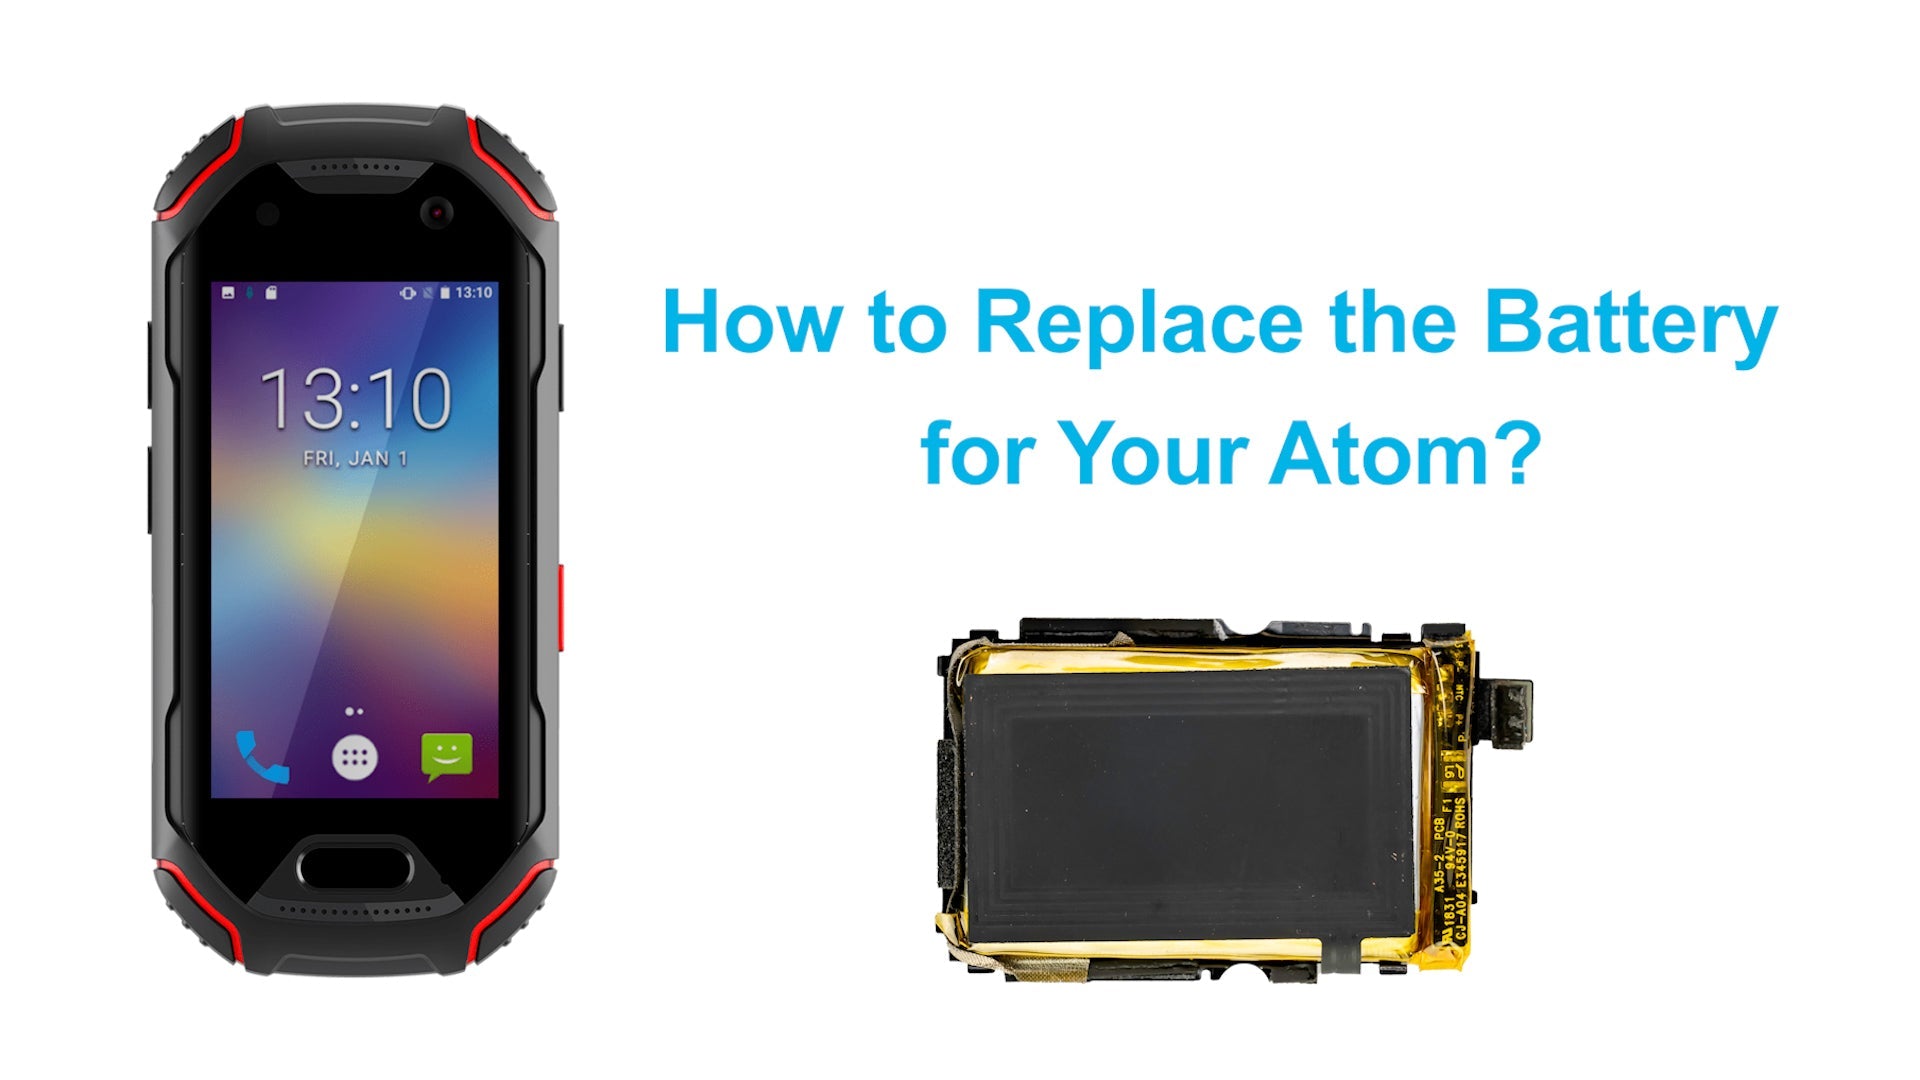
Ce tutoriel passera en revue le processus de remplacement de la batterie du smartphone Unihertz Atom .
Il est important de lire l'intégralité du guide et de vous assurer que vous pouvez effectuer toutes les étapes avant de commencer à remplacer la batterie de votre smartphone Unihertz Atom . Dans le cas contraire, il est recommandé de faire appel à un spécialiste local qualifié en réparation pour effectuer la réparation.
Comment remplacer la batterie de Atom Unihertz
Comment remplacer la batterie de Atom Unihertz étape par étape
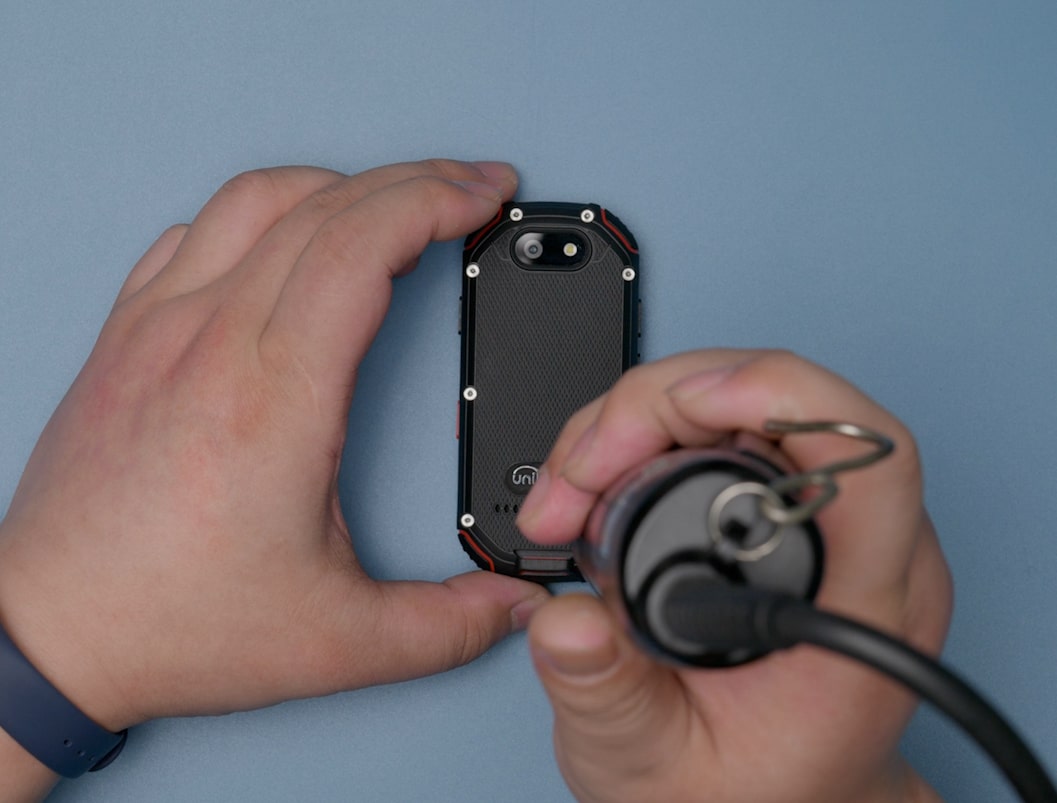 |
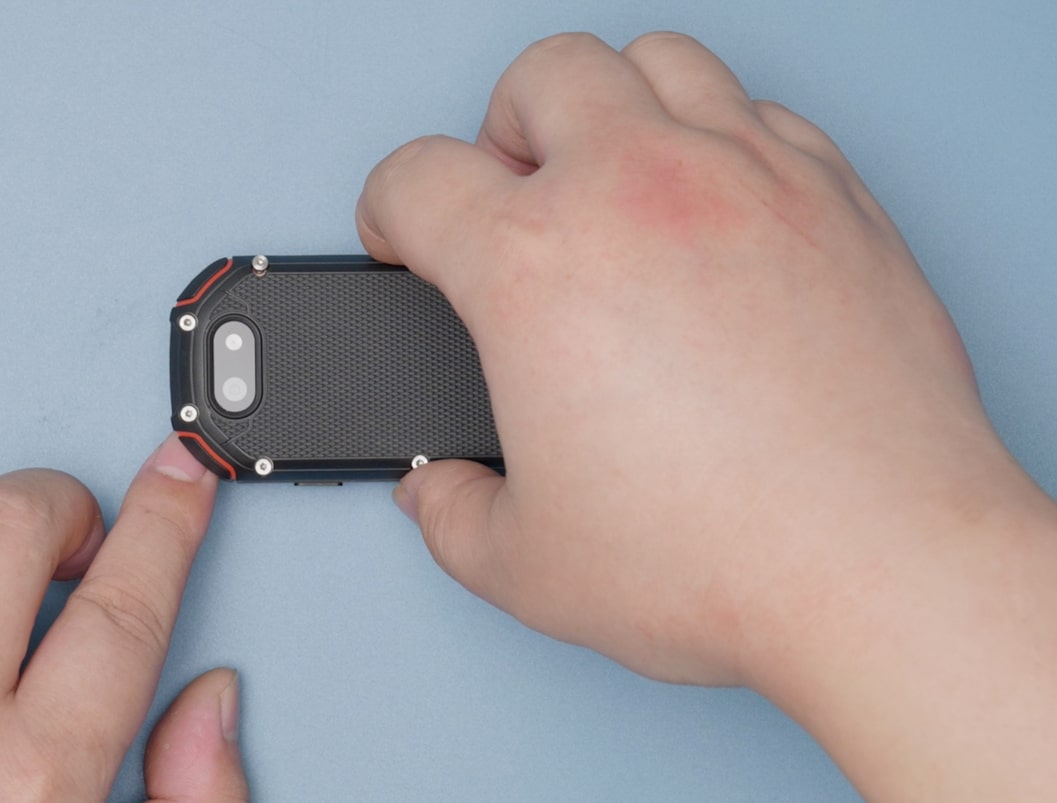
Étape 01Retirez les 8 vis du capot arrière. |
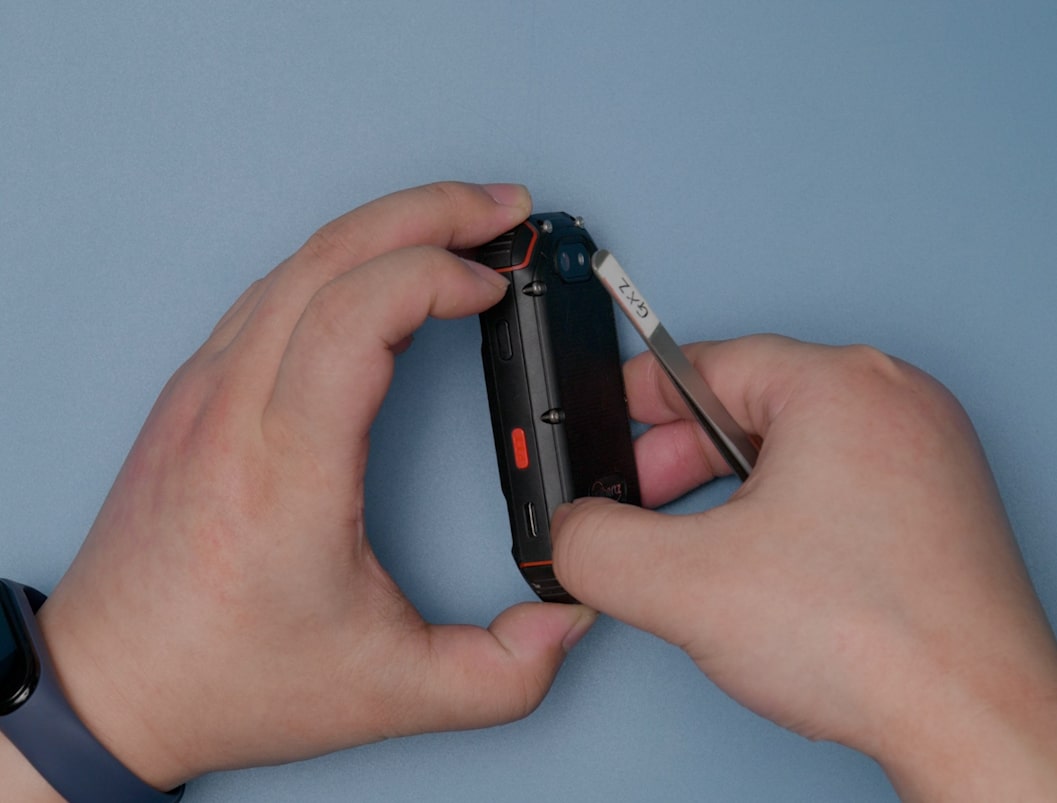 |
Étape 02Retirez la couverture arrière. |
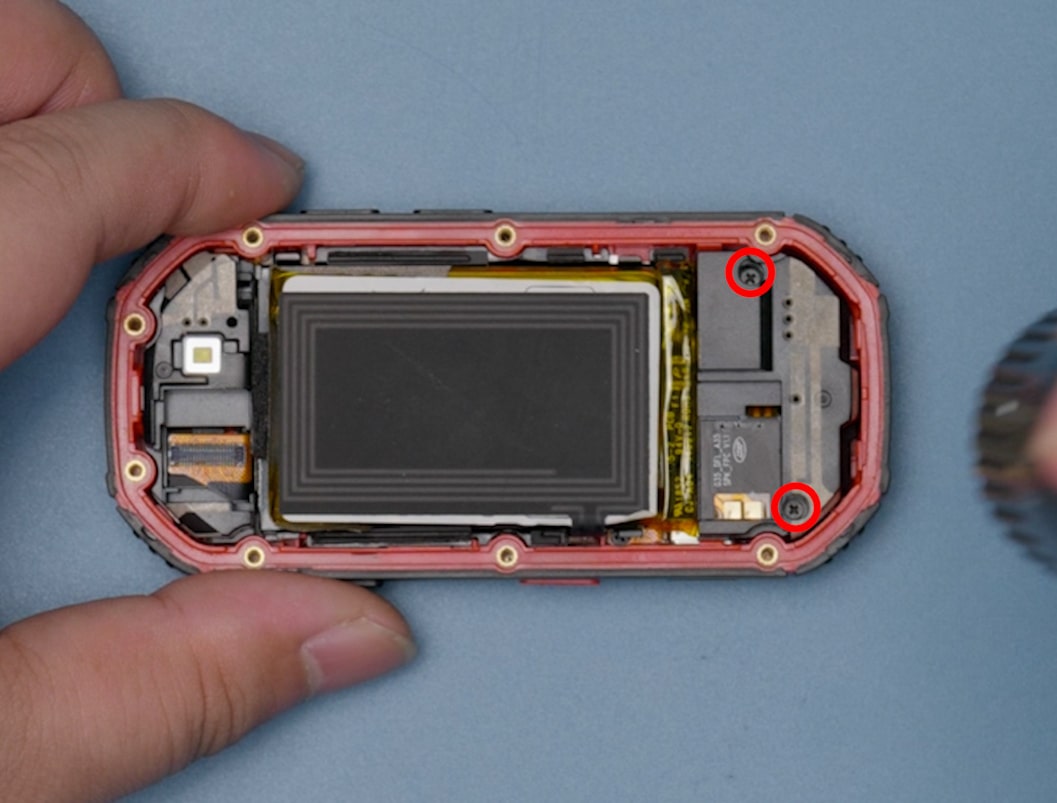 |
Étape 03Retirez les 2 vis du support d'antenne. |
 |
Étape 04Retirez l'antenne. |
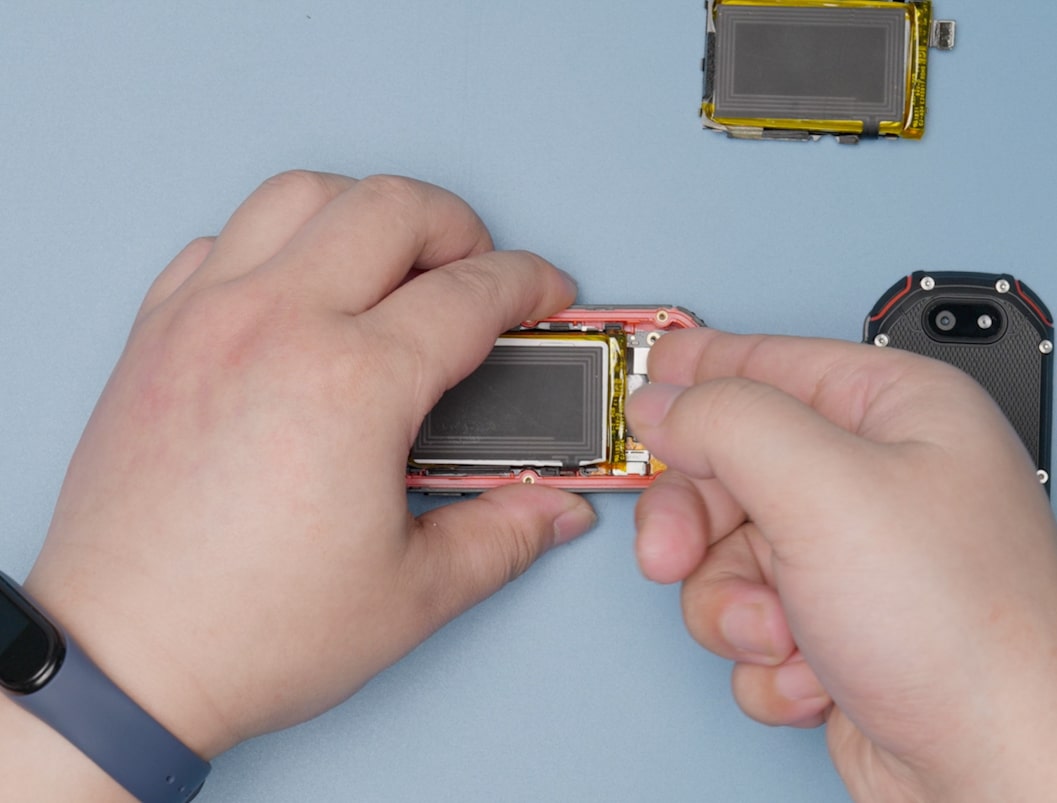 |
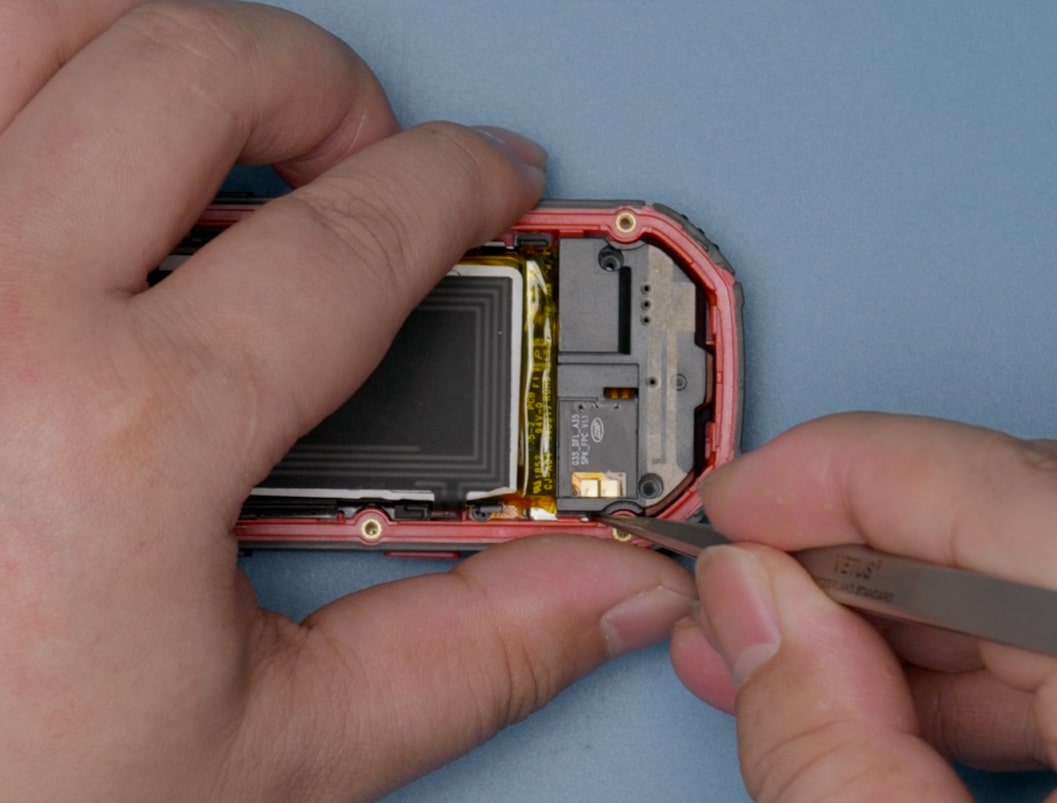
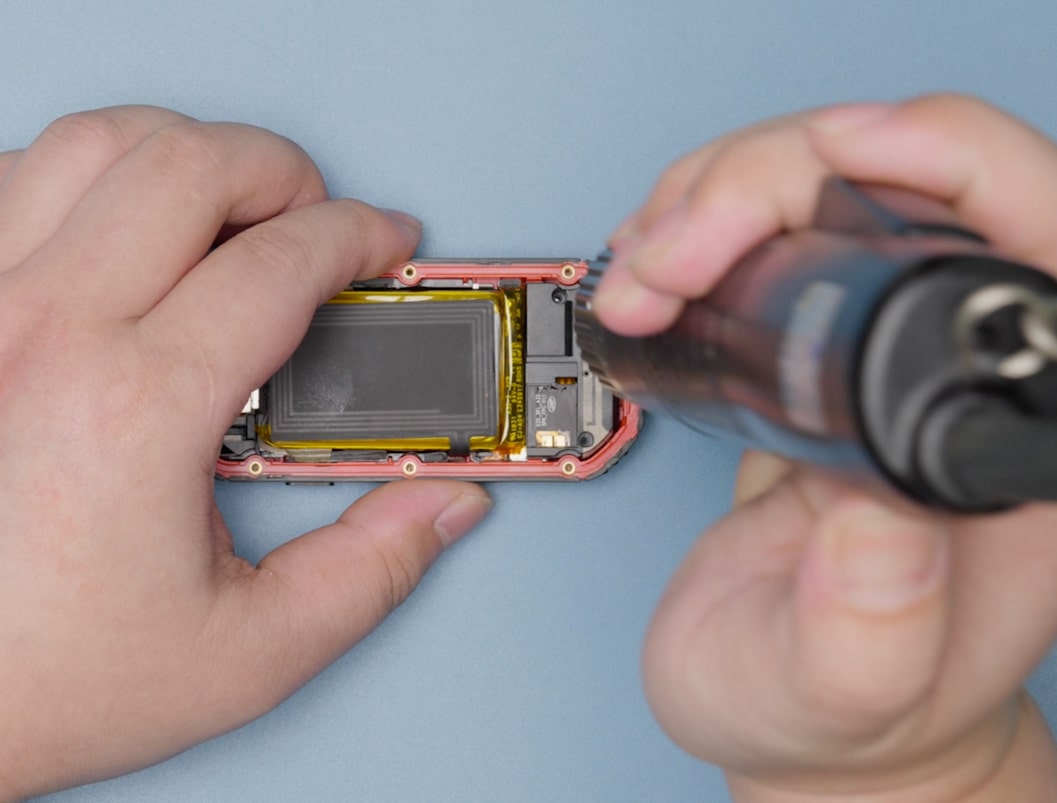
Étape 05Déconnectez l'interface FPC entre la batterie et la carte mère et retirez la batterie. |
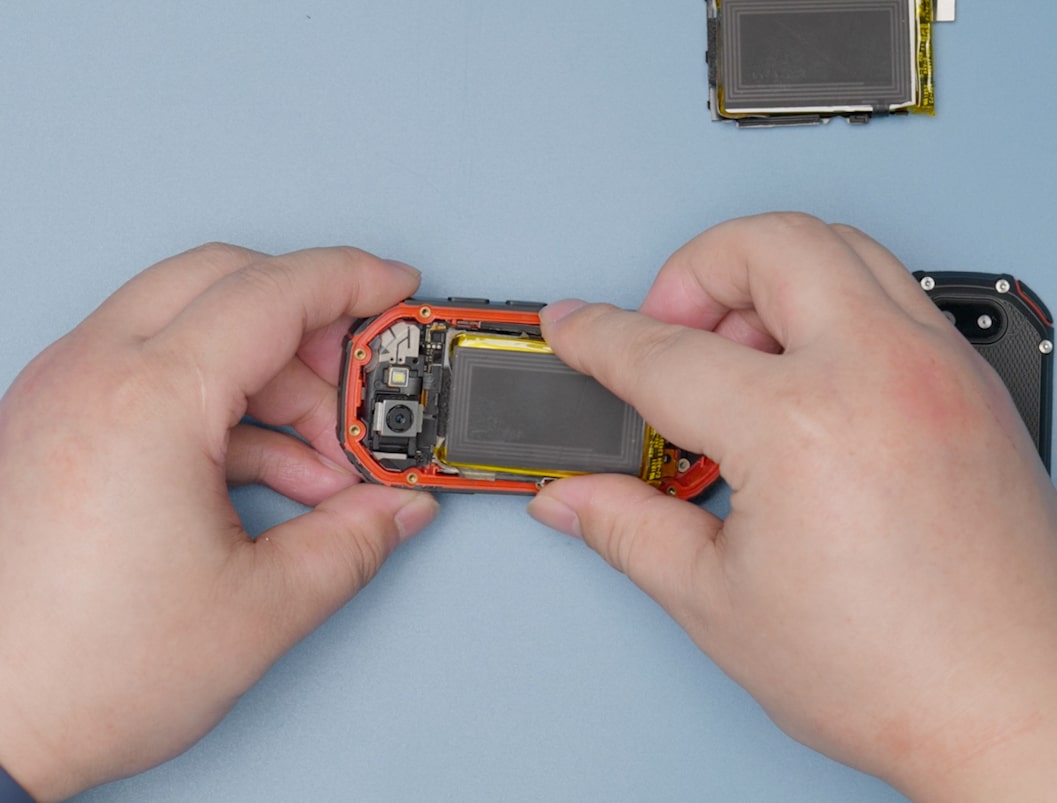 |
Étape 06Installez la nouvelle batterie et connectez l'interface FPC entre la batterie et la carte mère. |
 |
Étape 07Installez l'antenne. |
 |
Étape 08Serrez les deux vis pour fixer l'antenne. |
 |
Étape 09Disposez le joint étanche et serrez le couvercle arrière. |
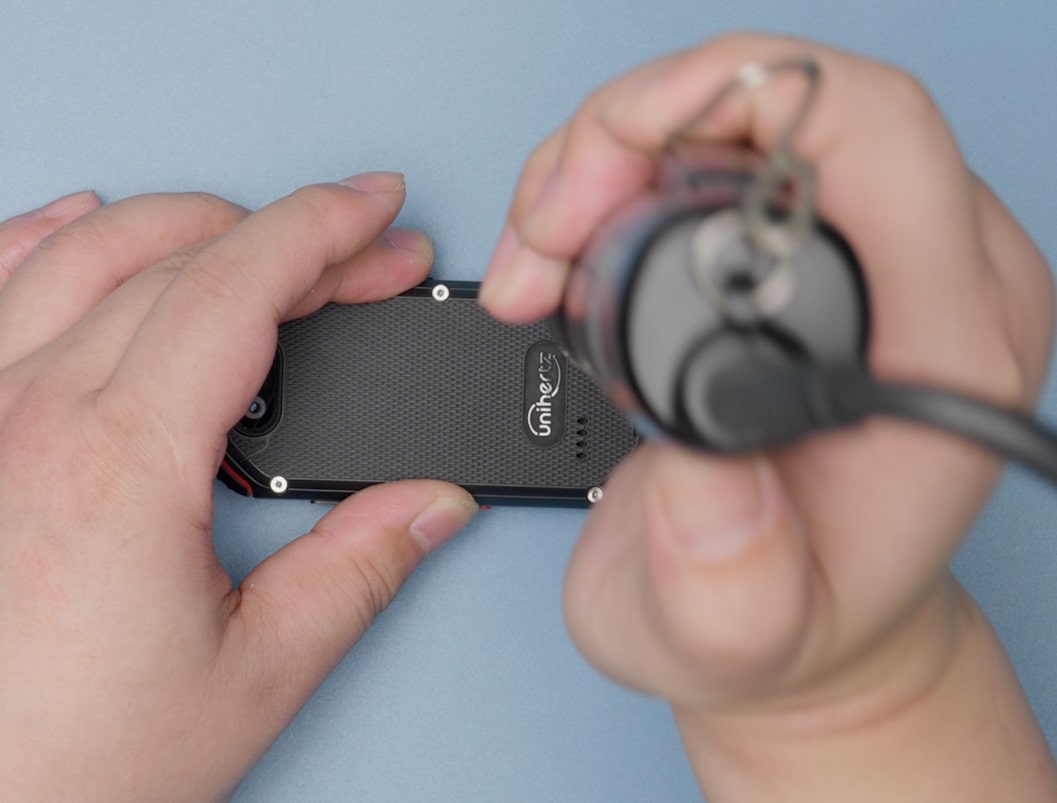 |
Étape 10Serrez les 8 vis pour fixer le capot arrière. |